ReleaseEngineering/How To/Self Provision a TaskCluster Windows Instance
Contents
For generic-worker 10.5.0 onwards
Integration with taskcluster one-click loaner workflow will be done in bug 1368961.
1) If you are connecting to a hardware worker in our data center (provisionerId: "releng-hardware") such as a MoonShot machine, make sure to announce in #ci and/or create a bug under CiDuty - Buzilla announcing the fact that you will take a loaner.
2) Find a the task you want to play with in treeherder, and follow the link to the Taskcluster Task Inspector.
3) Go to Actions -> Edit Task.
4) Add rdpInfo to the payload section:
payload:
  rdpInfo: 'login-identity/<login-identity>/rdpinfo.txt'
For example:
payload:
  rdpInfo: 'login-identity/mozilla-auth0/ad|Mozilla-LDAP|pmoore/rdpinfo.txt'
(check https://firefox-ci-tc.services.mozilla.com/profile to see what your login identity is, e.g. you should have the scope assume:login-identity:<login-identity>).
4) Check which workerType the task uses from the task definition, and then add the following scope to the list of task scopes:
scopes:
  - 'generic-worker:allow-rdp:gecko-t/<workerType>'
For example:
scopes:
  - 'generic-worker:allow-rdp:gecko-t/t-win7-32-gpu'
5) If you will require administrator privileges:
5.1) Ensure you have scope generic-worker:os-group:<provisionerId>/<workerType>/Administrators in https://tools.taskcluster.net/credentials/
If you do not have the scope, request it using a Service Request or by asking in #taskcluster IRC channel.
5.2) Add the following to the task payload:
scopes:
  - generic-worker:os-group:<provisionerId>/<workerType>/Administrators
payload:
  osGroups:
    - Administrators
6) Make sure that if your payload mounts any artifacts, that the task ID(s) are included as a list in top level property dependencies (not under payload)
So if it says
 mounts:
   - directory: .
     content:
       taskId: HUqhbXTMTXSXYEM6K2H3wA
Add (at the top level indent)
dependencies:
  - HUqhbXTMTXSXYEM6K2H3wA
7) Submit the task. If the task resolves as exception and doesn't run, check the task log file. It should provide more information about the cause.
8) When the task successfully starts, go to Run Artifacts to see the rdpInfo.txt file appear with rdp connection information.
9) Enter the connection information into your RDP client of choice.
10) Connect with screen resolution 1280x1024 ! Note, it is important to use this resolution for gecko tests, since this is the screen size used by the tests, and the screen size cannot change once you have made a connection.
Performing operations as Administrator
Until bug 1465374 is resolved this can be a little tricky.
1) Make sure you followed step 5 above!
2) Open a regular command shell (e.g. Start Menu -> Run -> cmd.exe)
3) From there check which users are in the Administrators group:
C:\Windows\System32>net localgroup Administrators
Alias name     Administrators
Comment        Administrators have complete and unrestricted access to the computer/domain

Members

-------------------------------------------------------------------------------
Administrator
task_1527672240
The command completed successfully.
4) Check the user you are logged in as is one of the above listed users:
C:\Windows\System32>whoami
i-015fe55bb8553\task_1527672240
5) Open a new UAC elevated command shell:
C:\Windows\System32>powershell.exe Start-Process cmd.exe -Verb runAs
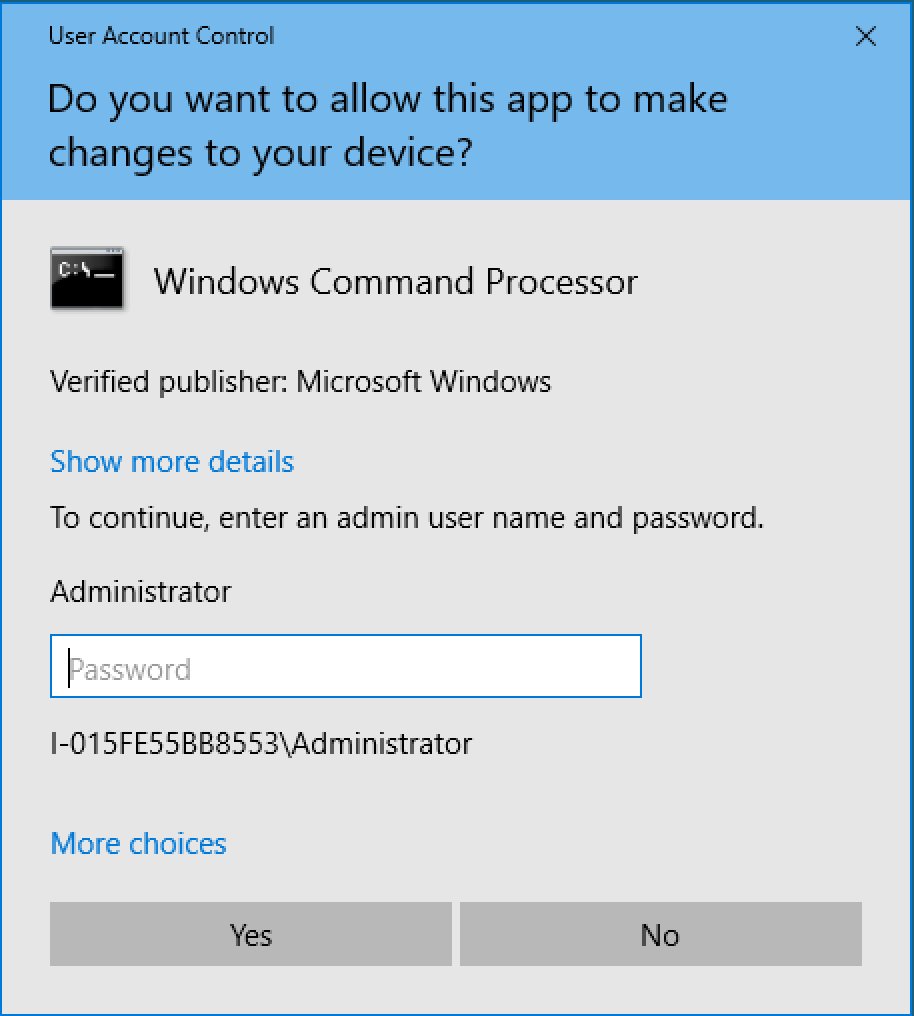
6) This will require you enter Administrative credentials. You will be presented with a prompt similar to this:
Click on More choices and select the task user, and copy/paste the task password (Ctrl-V).
You should now have a command shell running as Administrator!
Rerunning tasks after they have completed
If you want to rerun a step after the task has completed, there is a script for each command in the task payload. They are named like this:
Z:\task_XXXXXXX\command_000000_wrapper.bat
Z:\task_XXXXXXX\command_000001_wrapper.bat
Z:\task_XXXXXXX\command_000002_wrapper.bat
....
Simply run them by hand to reproduce any of the task steps. If you wish to make changes, feel free to edit them. After the loan expires, the task directory, including all your changes, will be deleted. Therefore make sure to keep track of any changes that need to be put back in the gecko build system.
